How To Install Epdm Roofing On A Shed
Learning to install epdm roofing can add years to the life of your garden shed. However, many people are used to repairing and replacing their shed roof with bitumen felt or shingles. Using a new type of roof covering system can be a bit daunting. So I have prepared this step by step, 'how to install epdm roofing guide', to show how easy it is to install.
1.0 The first step is to gather your tools and materials
Materials- Roll of epdm roofing
- Adhesive
- Drip edging
- Paint roller
- Paint tray
- Scissors
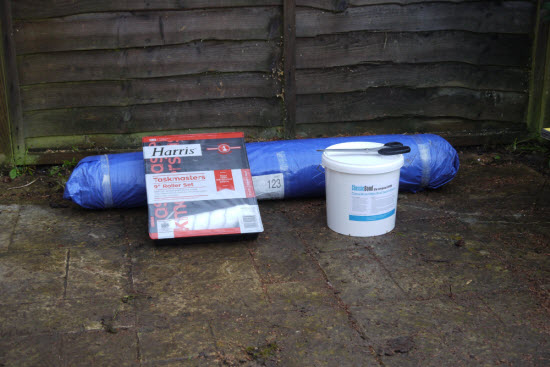 Tools and materials for the epdm roofing installation
When buying material I recommend buying the roofing and adhesive from the same supplier. This way you know that the two will work together. The adhesive needs to bond to both a timber deck and the rubber. I don't believe the adhesive is anything super high tech, but don't go using some PVA glue that you have lying around, just to save a few pennies.
Epdm roofing for a shed seems fairly thin, at 1mm. Thicker grades are used on industrial buildings as these areas can be subject to foot traffic over the years and so maybe 1.2 or 1.5mm thick.
When you order epdm sheet it will be supplied in one large sheet. So you will need to work out the area of your roof. Allow for a 150mm overhang of material on each edge (so add 300mm to the overall dimension). Also allow for the slope of the roof and edge overhangs. The slope dimension is greater than the building dimension measured on plan.
|
Side note: I mentioned that the epdm is supplied as a single sheet. When you have a close look at the sheet that is delivered you will see that it is actually made up of a series of sheets (approx. 1.2m wide). The joints are factory bonded. It is difficult to spot these joints and for all practical purposes, they can be ignored. I mention this as some readers have thought that the sheet would not have any joints at all. |
2.0 Before you start to install epdm roofing make sure that your roof is clean and dry
Also that the temperature is likely to remain above 5 degrees C for the next 24 hrs. (Check your online weather forecast!). In addition, check that all nails and screws have been driven below the surface of the roof deck, for obvious reasons.
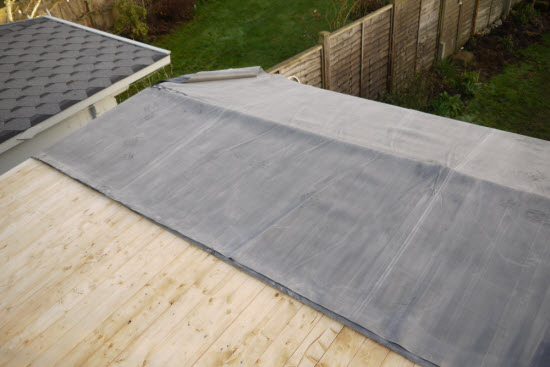 Roofing membrane laid out on clean and dry roof deck
|
Side note: I completed the featured job in the middle of December in the UK. It was raining as I finished nailing on the last roofing boards. It then froze that night. I spent the next couple of days getting the roof to dry out in the weak, mid-winter sun. I was lucky that I then hit a dry spell. The weather warmed up enough for me to dry out the roof and to bond the roof with the expectation that the temperature would remain above 7 degrees for that night. |
Laying the membrane out flat on the roof is a double check that you calculated the size correctly. I found it interesting to handle this material and see how tough and flexible it really is.
 Membrane on roof prior to bonding. The membrane overhangs the roof on all edges.
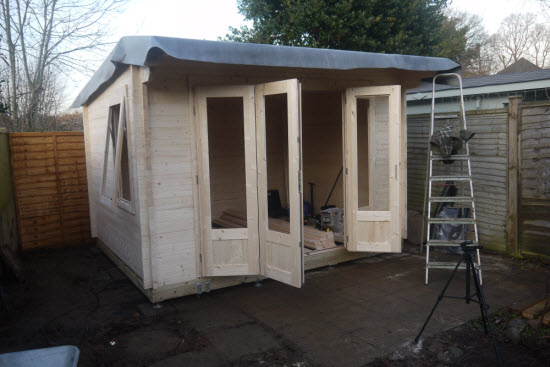
3.0 Bond the membrane to the roof deck
This roof was 3.5x4.0 metres with a relatively shallow roof slope. The roof was asymmetrical, the front cantilevered section was relatively short in comparison to the longer slope at the rear. The shallow slope meant that I felt comfortable walking on this roof to install the membrane.
I started to install epdm roofing on the short front section of the roof first. To do this I folded back the front section of the roof membrane. And started the glue application process by pouring a good dollop of glue into the paint tray.
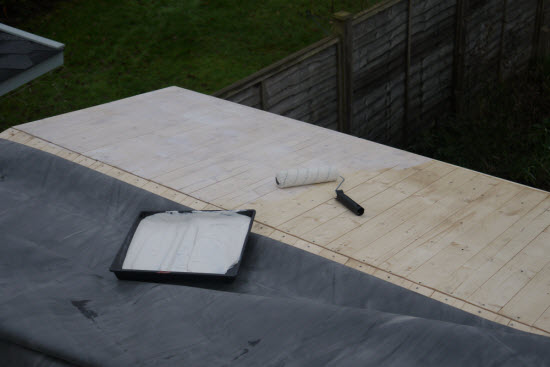
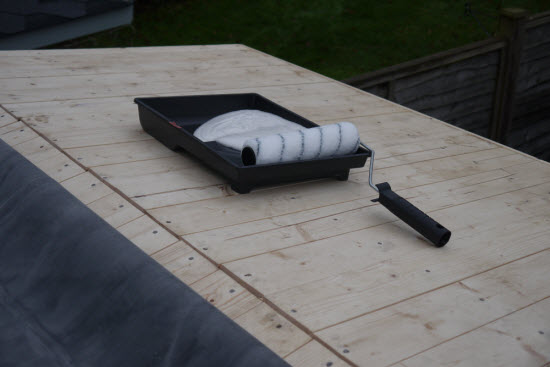 Glue and roller, ready to start application of adhesive
The glue loaded well on to the roller and it was easy to get an even layer over the whole front section of roof (approx. 1.2x3.5m). I then flipped back the section of the membrane that I had folded back, on to the glued area. I smoothed out the membrane over the glued section using a 'soft' broom. This had the function of getting rid of any air bubbles between the deck and the membrane. Also, the pressure from the brush helped to create contact between the membrane and the roof so increasing the bond between the two.
 Application of glue to the front section of roof
With the front section complete. I repeated the process to install epdm roofing on the rear slope of the shed.
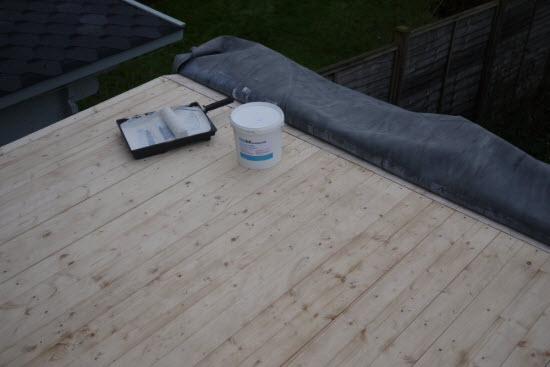 Ready to start application of glue to the rear section
The rear slope was about 3.0m long so I did this in three sections of about a metre each. After each section, I unrolled the membrane over the glued area and repeated the smoothing with the soft broom.
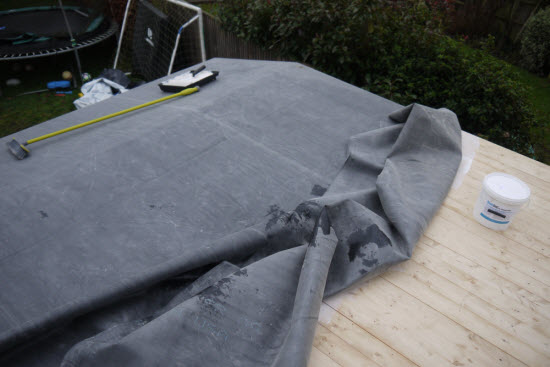 Unfolding the membrane over the glued rear section of the roof
For the last section, I started applying glue from the opposite side from where I had my ladder (didn't want to paint myself into a corner!). When I had finished applying the glue I carefully walked on top of the freshly laid section of membrane. I could then fold the last section of the membrane into place and smooth it with the brush.
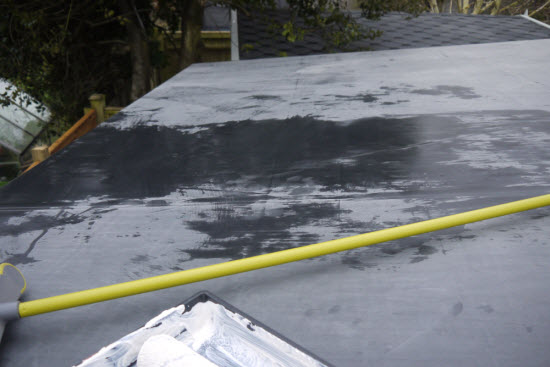 Completed section of rear roof, with yellow brush handle visible
I then did a final check for creases and air bubbles
The bonding of the roof membrane was complete. For this project, the roof deck was made of individual tongue and groove timber planks about 100mm wide. Having the grooves in the roof deck stopped any significant air bubbles forming, as any trapped air could escape along the groove.
I have to say again this membrane is amazing in how strong and flexible it is. There was very little chance of creases forming when you install epdm roofing on a small roof such as this.
With the membrane bonded to the deck, I could start getting ready to fix the fascia and drip edge/trim around the perimeter of the roof. Before starting to fix the first section of trim. I pinned back the sections of the membrane at the corners and ridge. I used a small clout nail to hold the membrane in position. This only needed to be temporary as the edge trim would effectively hold the edge of the membrane in place.
 Detail at corner with membrane pinned back prior to fixing side fascia
4.0 Fix the side fascia on first
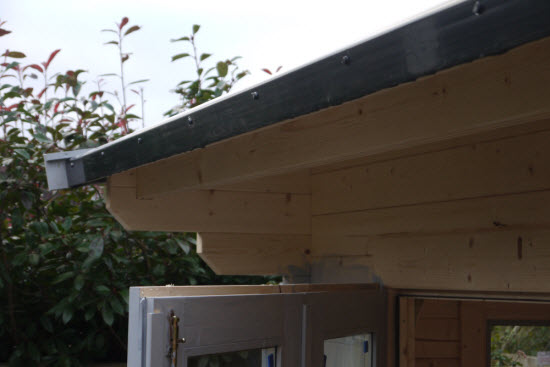
The side fascia was made of two timber sections screwed together and painted. The fascia is fixed using wood screws to the end of the purlins that project through the wall. The screws pass through the epdm membrane clamping it between the end of the purlin and the fascia. These (and the ones fixing the front trim) are the only holes that are made in the membrane. As the holes are limited in number, outside of the main roof (in the overhang) and on a vertical surface, they are extremely unlikely to contribute to any future roof leak.
 View of roof with timber side fascia fixed. Ready to start fixing front trim
The front trim was fixed after both sides had been secured.
5.0 The front trim also doubles as a 'drip edge'
Water flows down the roof and drains off the roof on the front and back edge. The trim for this was formed using a two part plastic drip edge. The back part of the trim was nailed to the roof edge beneath the membrane. The front part is then nailed to the roof with the nail passing through the roof membrane and the back part of the trim. The nails have ring shanks for improved pull-out resistance and have a plastic cap to give a neat appearance.
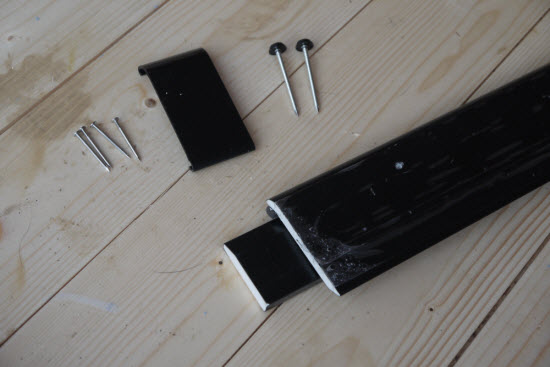 Components of front drip edge. Smaller nails are for fixing rear part of drip edge. Larger nails with plastic cap are for fixing main drip edge. The
small black plastic piece is the cover piece for the joints in the trim
Components of front drip edge. Smaller nails are for fixing rear part of drip edge. Larger nails with plastic cap are for fixing main drip edge. The
small black plastic piece is the cover piece for the joints in the trim
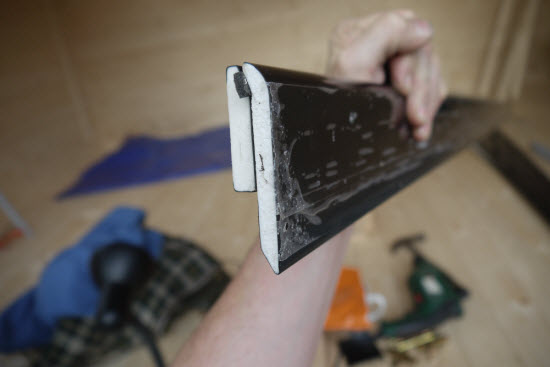 Demonstration of how front and rear section of trim fix together. The membrane is sandwiched between the two pieces.
The trim came in 3m lengths and so I used one full piece and a short infill piece. There was a clip-on joining piece to cover the joint.
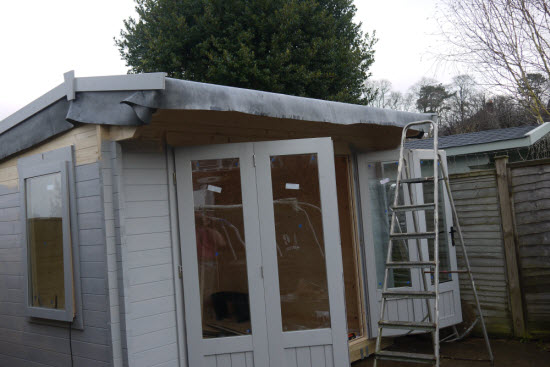
 View of front trim before removal of excess membrane
The last stage when you install epdm roofing is to cut off the excess rubber membrane around the perimeter.
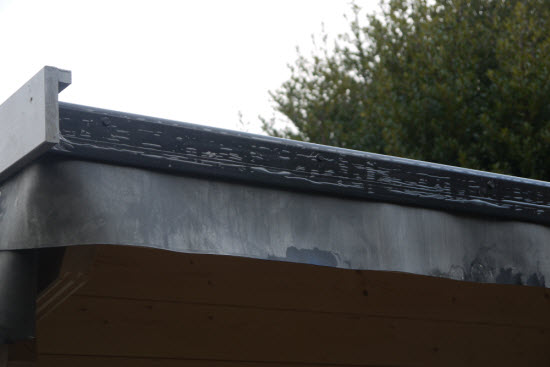
 View of front trim after removal of excess membrane
6.0 The finishing touch was to remove the excess membrane around the roof perimeter
I first tried doing this with my Stanley craft knife. This struggled to cut the membrane (it might have been a bit blunt) which once again shows how tough this epdm material is. I ended up using the scissors that had been supplied by Rubber for roofs who supplied the whole kit (They know what works!).
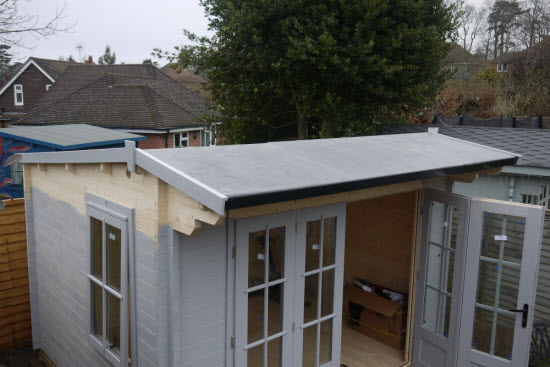 View of completed roof ;-)
Summary
The whole installation process was very quick and the end result looked extremely neat. The process didn't require any special skills or equipment.
The installation of this roofing system supplied by Rubber for roofs impressed me. It is easier to install epdm roofing than traditional bitumen felt. It also promises to be significantly longer lived. I will be using it re-roof a couple of my own sheds whose existing felt roofs have recently given up the ghost.
Related posts:
- EPDM is ideal for creating a Green Shed Roof
- Installing epdm on a small shed roof
- What exactly is EPDM?


Keep in touch with our monthly newsletter
Shed Building Monthly