How to build an adjustable shed base
An adjustable shed base is handy to use for shed projects that combine a number of foundation types. This one was partially supported on a section of existing patio and partially on some existing bases.
This avoided the time and expense of ripping up the old patio. The adjustable screw jacks that I used to support the shed supported a timber sub-frame that provided a decent base with good airflow underneath the building to keep the structure dry.
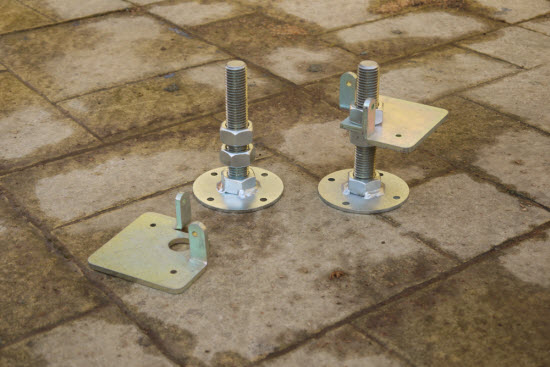 The Quick Jack system from A1 Sheds
The advantages of using an adjustable shed base system are:
- The jacks cope easily with a gently sloping base. This avoids the need for cutting firring timbers or lots of small fiddly packing pieces.
- The adjustable shed base copes easily with bearing on to a variety of materials. In this case it included a section of old patio and some newly constructed individual bases.
- The jacks raise the base of the shed off the wet ground. This allows good airflow beneath the shed and keeps the base timbers dry.
- Wire mesh can be installed around the base of the shed to stop pets or unwanted wild animals (foxes or rats) taking up residence.
The project started, as always, with creating a design so that the quantities of materials could be established. I combined the information from the cabin supplier and jack supplier to create the design shown below, to support the timber floor bearers and perimeter walls of the cabin.
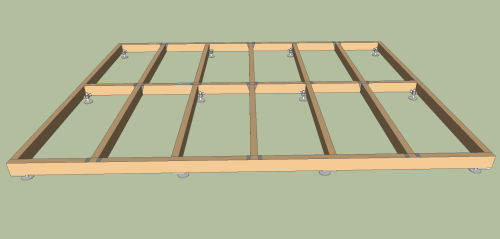 General fiew of proposed Adjustable Shed Base frame
The sequence of construction was guided by the installation instructions provided by the adjustable shed base supplier. These were fairly minimal comprising an A4 sheet with a few words and pictures. So I have expanded on them here to give you my experience and a few pitfalls to avoid.
The tools and materials that I used to construct the frame are listed below;
Tools
- Set Square, 8m tape, carpenters pencil
- Saw
- Drill/driver
Materials
- 12 No. Quick Jacks
- 4x2 timber
- 75mm lg Annular Ring Shank Nails
- Simpson Joist Hangers
- 30mm x 3.75 Twisted Galvanised Nails
1.0 Start by building the base frame.
I used two different types of connection:
- a) At the connections where jacks occurred I used 2No. 75mm ring shank nails skew nailed to secure the members together. These joints were supported from beneath by the screw jacks which were secured to the timbers by 2 screws from beneath and 2 screws into the sides of the timber.
- b) At connections where jacks didn't occur I used Simpson joist hangers. I checked the load on the joist hanger and found that I needed 4No. of the twisted nails in the face and 4No. in the top of the support beam. This helped as I wanted to get the intermediate supports opposite each other and if I had filled in all of the nail holes the folded tabs would have clashed.
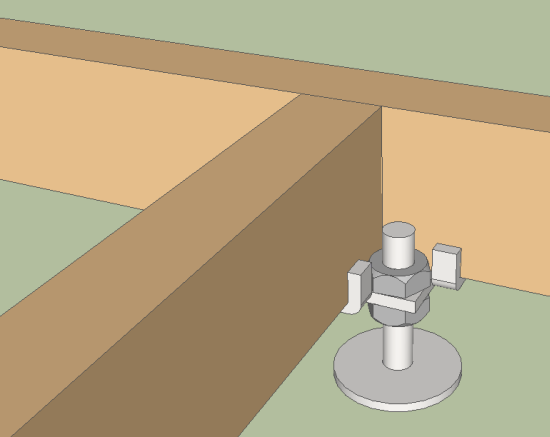 Typical detail of connection at screw jack location
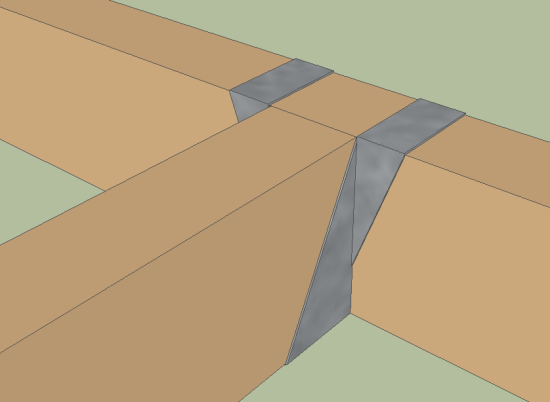 Typical detail at frame junction without jack
2.0 Attach the bracket support plates to the frame.
The bracket support plates are heavy duty! The plates are 8mm thick. The bolt that forms the screw jack is 24mm diameter. So it is all robust stuff.
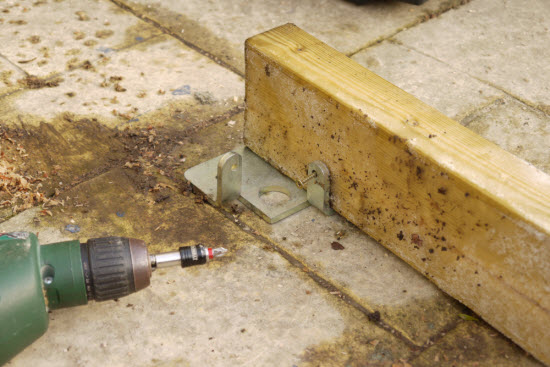 Fixing the bracket support plate. 2 screws into sides of members and 2 screws into the underside.
The brackets are fitted to the underside of the frame using two of the supplied screws and then another two screws are used to fix into the sides through the folded up section of the plate.
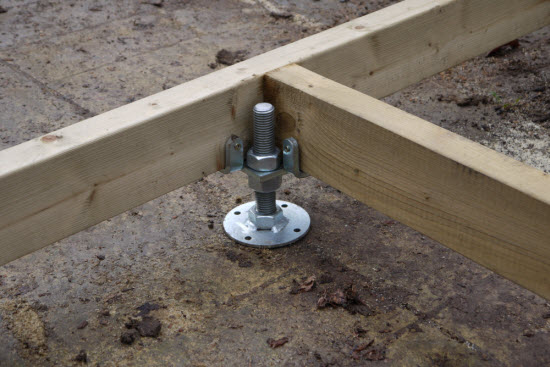
3.0 Attach the adjusters.
The adjusters are a flat circular plate with a nut welded to it and a 125mm long piece of 24mm diameter threaded rod. This forms the jack body. A lower adjustment nut is threaded on to the jack and the assembly is then passed through the large hole in the bracket support plate. The upper nut, is a lock-nut which is tightened once the whole frame has been levelled.
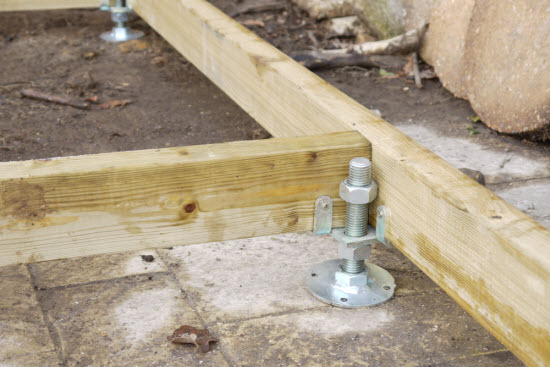 Screw adjuster installed into bracket support plate. Note: upper locknut is left intentionally high at this point.
At this point the lower nut is set about 10mm off the lowest point on the jack.
4.0 One advantage of using a frame such as this is its ease of positioning
For this project the base was bigger than the existing patio. Also none of the boundaries of the garden were square to each other. One of the benefits of building a base in this way was that once constructed the location could easily be moved to suit. In this case we achieved plenty of space around the edge of the shed for access during construction and future maintenance.
Leaving plenty of space between the shed and the fence (min 3ft, approx 1m) gives the wood a chance to dry out when wet and so minimises the potential for future timber decay. Locating a shed too close to a fence is not advisable.
Locating the shed in this way meant that I needed to construct 6 additional pad bases where the jacks didn't land on the patio.
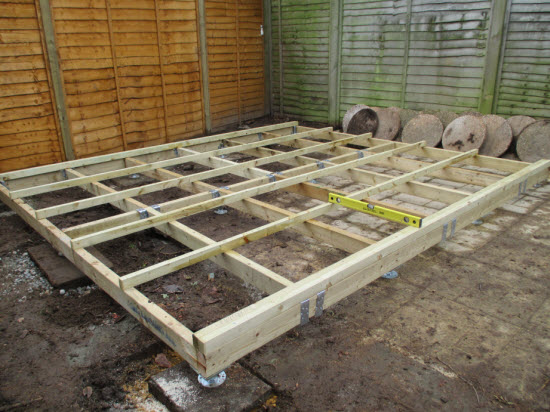
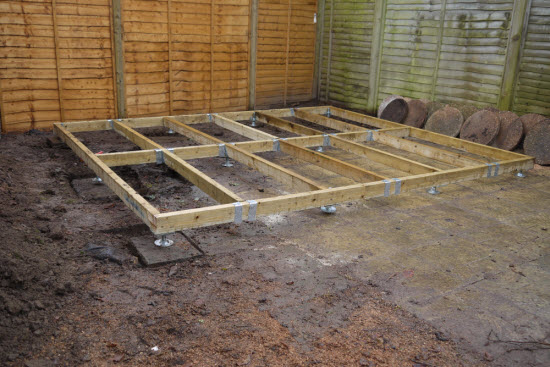 General view of the adjustable shed base frame. The left hand and rear jacks are on the 6 new bases. Three of the front row and the next row back
are on the existing patio.
General view of the adjustable shed base frame. The left hand and rear jacks are on the 6 new bases. Three of the front row and the next row back
are on the existing patio.
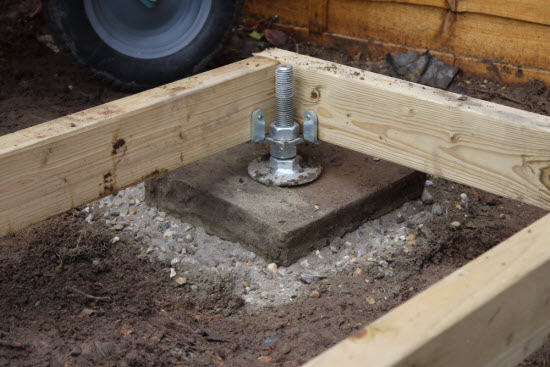
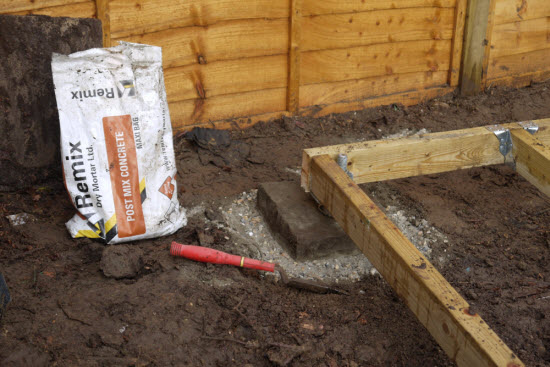 Construction of new support pad with standard paving slab with post mix concrete beneath.
5.0 Adjust the lower nut to level
At this point the frame should be supported on the four corner jacks, all intermediate jacks should be raised up off the ground. Levelling of the shed should start at the corner where the ground is highest.
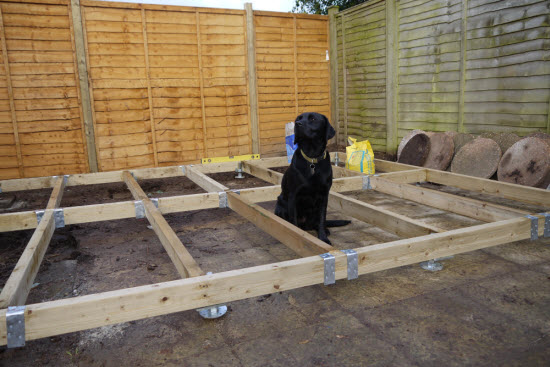 No reason for this picture, apart from to give a bit of credit to my faithful assistant.
 Highest corner of shed with locknut tightened
Using a spirit level work from one corner to the next around the base. Adjust each corner jack so that the spirit level bubble is central. When you get back to the corner where you started all sides should be level. However, you may need another circuit to undertake some fine adjustment.
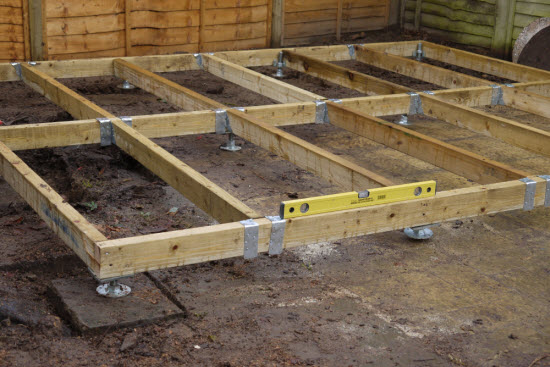 Working around the base ensuring all perimeter beams are level. Note: Intermediate jacks not touching the ground at this point.
Now lower all the intermediate and internal jacks to the ground. Check that all of the timbers are still level.
6.0 Tighten the upper locking nut
Tightening the upper locking nut prevents any changes in adjustment over time. As this shed is reasonably heavy androbust, it has 45mm thick solid timber walls, I didn't bother to fix the adjustable shed base to the ground.
 Intermediate jacks in position and locknut tightened.
If the shed had been a lightweight timber, metal or PVC shed, I would have used either a resin anchor or a self-tapping concrete screw to secure the base to the concrete paving slabs.
 Completed shed base with bearers installed to support cabin floor and superstructure.
With the shed base complete the next step was to start building the log cabin.
Related posts:
- A lighter duty shed jack system that uses plastic jacks
- How to build a shed foundation on a slope
- How to build a heavy duty concrete shed base


Keep in touch with our monthly newsletter
Shed Building Monthly