A Simple but Strong DIY Wellington Boot Rack
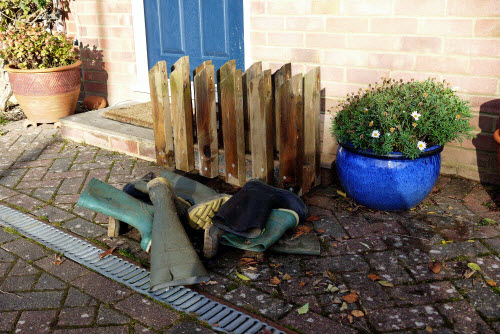
We needed a Wellington Boot Rack! Muddy wellies were bringing mud + dirt into the house and the discarded pile of wellies took up a large amount of space. The outcome of this project was to make the house more organised and cleaner. So this project was a double win.
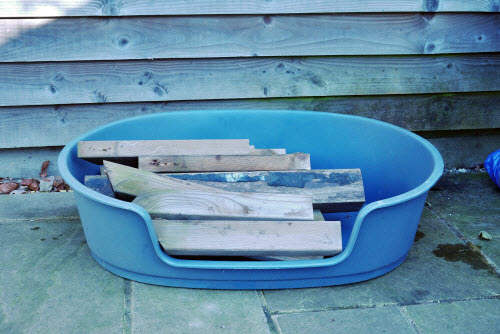
As well as solving the space and mud problems this wellington boot rack keeps the wellies in the place they are needed most. Just outside the front-door. A side benefit was that using up some of the wood left over from my shed building project meant that construction cost very little and it made my pile of spare timber slightly smaller. ;-)
I had been worried about leaving boots outside and whether they would go missing. However I noticed an increasing number of other houses on our street with welly racks outside the front door, so it seemed like a good solution.
So where to start?
As with all projects the beginning part is to create a design, then get the materials and tools together.
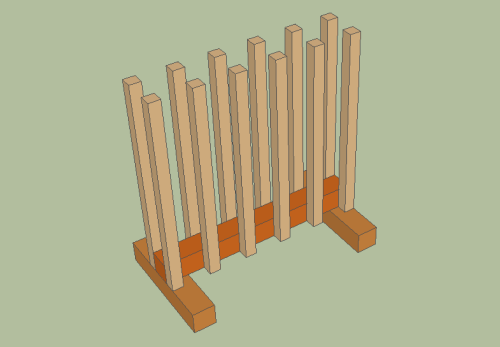
The design for this wellington boot rack is fairly straight forward. The critical dimensions are the length of a welly leg and size of feet. You might need to check the wellies that you have. For our family my size 11 wellies meant that the welly holder needed to project 58cm above the top of the support and the supports needed to be 12.5cm apart. This meant that the length of the spreader had to be about 70cm (not critical).
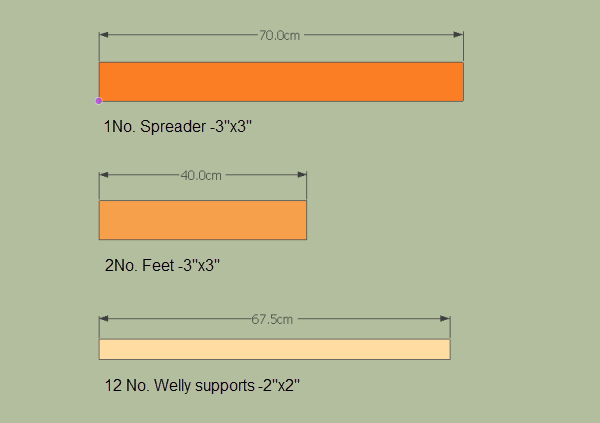
Components for a 6 pair wellington boot rack:
- Treated timber posts - Can be lengths of old 3x3 or larger fencepost
- Scrap 3x2 (2x2 would have been better, especially for younger childrens wellies)
- Galvanised nails - 3.5 inches
- Hex head timbalock bolt
Tools required
- Saw
- Drill
- Drill bits - 3mm, 5mm and counterbore bit
- Hammer
DIY Wellington Boot Rack - Step by step instructions
- The first thing is to cut all of the components for the wellington boot rack to length. You can you use a hand saw or a chop saw for this project. Using a chop saw is more expensive in the up-front cost but if you have one it will give you quick and accurate cuts. And will save time on countless other projects. Whereas using a handsaw will develop your woodworking skills and keep you fit...the choice is yours!
- Fix the feet to the spreader. Mark the centre of the feet and drill a 5mm hole as deep as you can. Then counter bore the hole so that the head of the timbalock bolt is about halfway into the foot. This gets the head of the bolt away from the damp. Then mark the location of each foot on the spreader and drill a 5mm hole. Bolt the feet to the spreader.
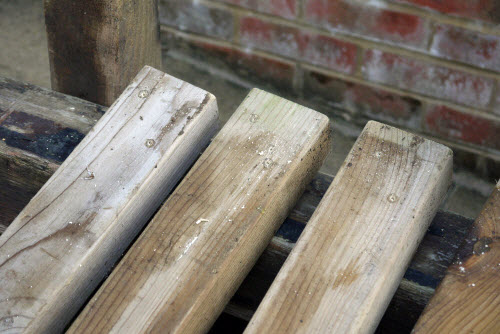
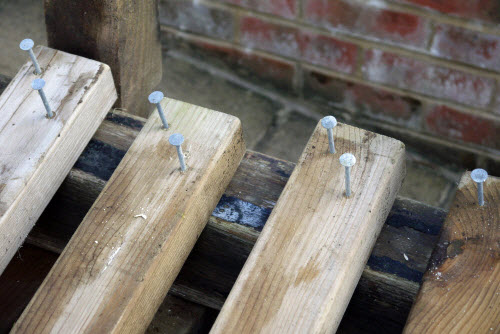
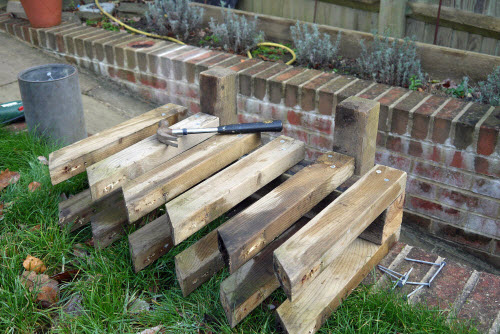
- Now drill two 3mm holes in each of the welly supports off-set the holes diagonally to minimise the chance of the timber splitting. Pre-drilling these holes makes the joint stronger and also gives you a better chance of getting the nail in straight. Make the hole 1-2mm less than the nail diameter. No need to pre-drill the spreader that you area fixing in to.
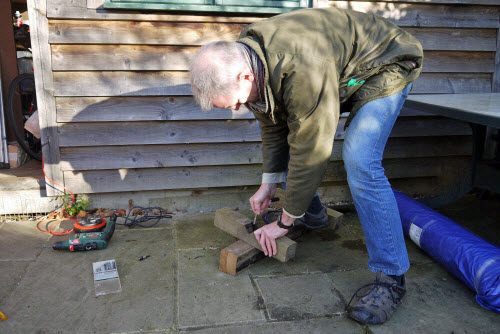
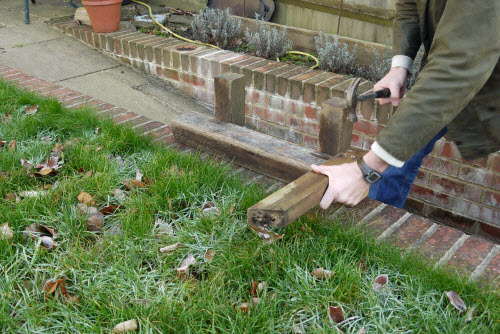
To make fixing the welly supports to the spreader easier, use a wall as in the photo this makes hammering the nail through the support and into the spreader a lot easier.

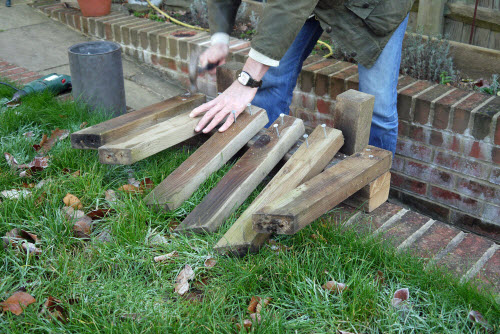
You already have the correct length of the spreader. So fix each of the end supports in position. Mark the locations of the rest of the supports along the length of the spreader. And double check by eye that they all look equally spaced. Nail them in place taking care not to whack your thumb.
- With one side of supports in place. Flip the rack over and fix the supports on the opposite side.
- The wellington boot rack is now usable. To add a finishing touch to the rack add a rubber door stop at each end of the feet. This lifts the rack off the ground and introduces a 'damp proof course' which stops the feet being permanently damp and prolongs the life of the rack.
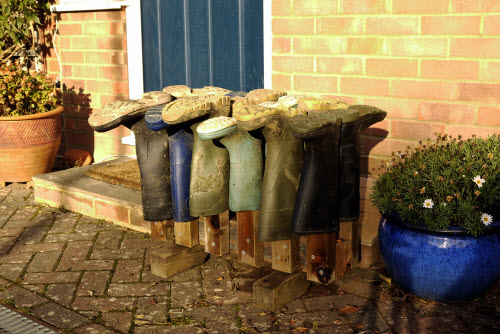
- The last step is to put the wellies on the rack. Wait for the first person in the household to ask 'Where are my wellies?'.....and wait for the applause.


Keep in touch with our monthly newsletter
Shed Building Monthly