Jo's Lean-to door shed
by Jo
(Mid-Wales, UK)

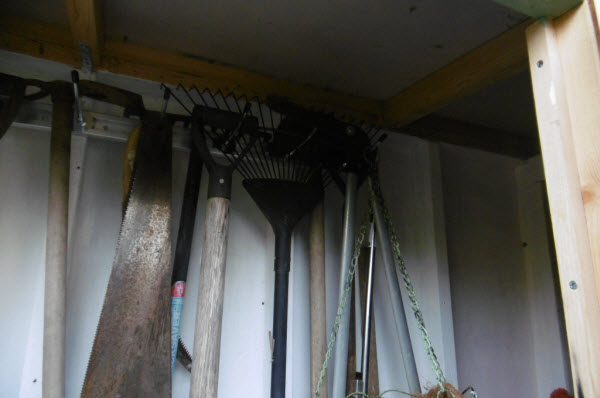
Nicely organised internal storage


|


|


|


|
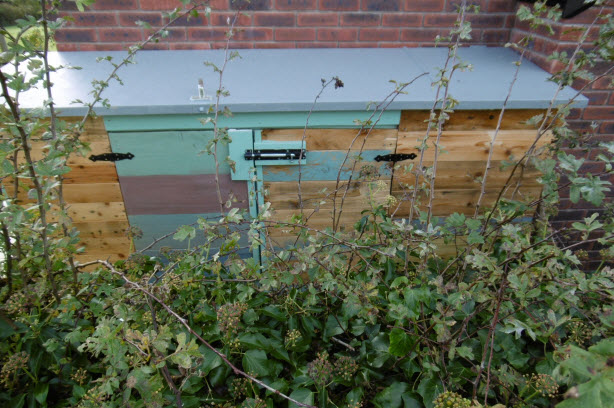
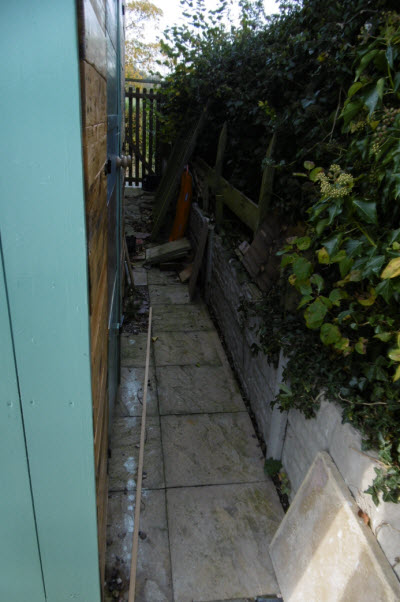
Hi John, I recently finished a long, narrow shed made out of recycled materials, from pallet wood to wood left over, or reclaimed, from other projects.
I used one and a half boxwood doors for the roof. These were being given away on Freecycle.org, and initially I painted these with a waterproof type paint, but it began to peel off. So I 'discovered' a fibreglass paint and thought I'd give that a whirl instead. As you know, boxwood doors for a shed roof is not a good idea at all simply because they are made from something we call 'hardboard' in the UK! These would have quickly turned to mush, considering the amount of rain we've had too. So, I used 'Cromarol' fibreglass paint. I have to say I am extremely impressed with it. I put just one coat on to see how it would bear up under our fine British weather. As I live in the Mid Wales/England borderlands, we get lots of rain. The doors have stood up to the weather.
The shed is nice and dry inside, although I do have to seal between the boards as a bit of damp is seeping through. But the roof? It's grand!
The length of the shed is approximately 2.6 metres, and the width? 86 cms (that's the roof from front to back) and the inside measurement is approx 66 cms!
I attach a pic or two of the shed - including the one showing the door handle still on the door. I like the quirkiness of that.
I am also a 70 years old Grandma!
Jo
Comments for Jo's Lean-to door shed
|
||
|
||


Keep in touch with our monthly newsletter
Shed Building Monthly