Biohort Shed Review
This Biohort shed review was created by a near neighbour and friend of mine who as a motoring journalist is trained to recognise quality! Having seen the finished result of this metal shed kit it really is a nice piece of work.
Anyway I will let Patrick take over from here:
Our home is a relatively new 1960s house and we wanted a modern shed that looked interesting but was still practical. After a few weeks of research, we unearthed galvanised powder-coated metal shed called Avantgarde manufactured by an Austrian company, Biohort. It was exactly what we were looking for: interesting to look at, intelligently designed and (we were assured) easy to put up. Compared with wooden sheds it was expensive, we paid £1500 for the 'Large' shed, but now it's all in place I think it has been worth it. The shed is well engineered and should last maintenance free for a long time. It has a manufacturer guarantee for 20 years.
1) We already had a concrete plinth, but needed joists and a floor. These can be bought in steel from Biohort, but they looked expensive. The brains behind this website, John, had some weighty hardwood railingssalvaged from a residential block that had been demolished - about 100mm square and incredibly heavy. They would last for ever once bolted to the plinth.
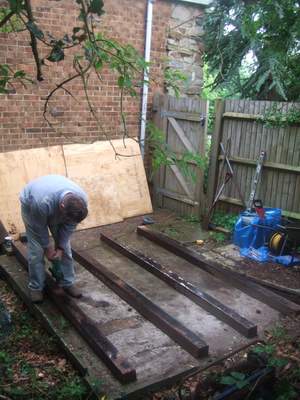
2) We destroyed two masonry bits drilling into the concrete plinth before buying a Bosch specialist bit, which did the job with ease. We used 200mm screw bolts with plastic plugs. On top went 18mm Water and Boil Proof plywood cut to shape with a circular saw. Once in place, we had a strong, ventilated base for the shed. I blocked off the ends with more ply to avoid rodent nesting and drilled ventilation holes to maintain air circulation.
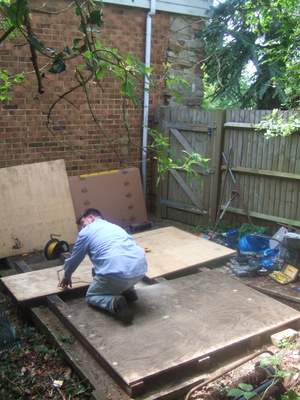
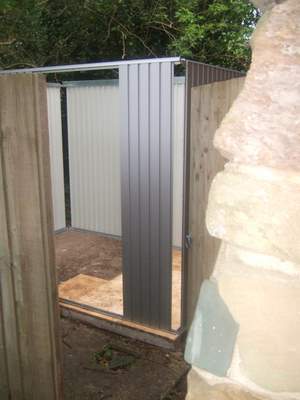
3) The shed came in big flat cardboard packs, a bit like a king-sized Meccano kit. The instructions were clear and complete. It was fiddly to say the least - I lost count of the number of bolts, washers and nuts I tightened up - but everything fitted first time and I got the impression that the design had been honed over many years. Each sheet of metal was flimsy and insubstantial until the extruded frame was in place, at which point everything became rigid and weather-tight. It took only a few hours to construct the major items and get them into place. It's a two-man job to start with, my neighbour Jan generously giving up a day to help out, but I did the roof and fittings on my own.
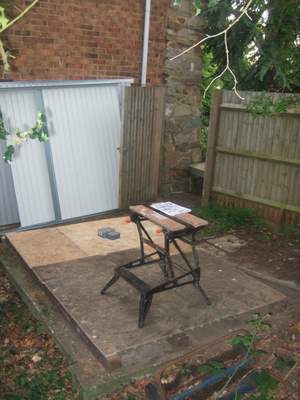
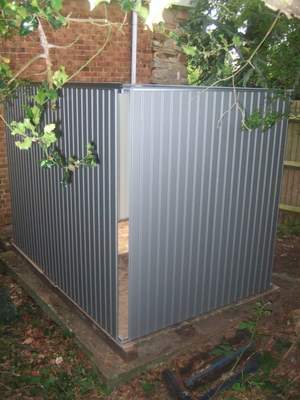
4) Once all four walls were in place, the structure was rigid and strong. The finish is excellent - powder-coated grey steel to give an aluminium-like look that suits our plot. You can also get the shed in green and dark grey.
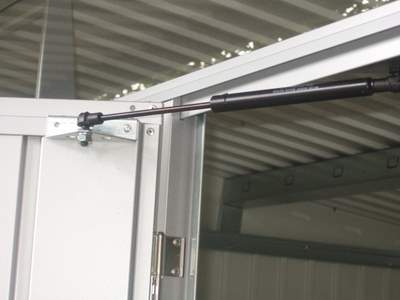
5)I particularly like the door design. The door itself is double skinned and
has a gas piston-operated closing device and secure lock. It has slots for tools inside and
rubber seals to keep the wind out. It does not sag and fits well.
6)This Biohort shed has only one window, a strip of polycarbonate above the door beneath the overhand of the roof. It is a logical design, letting in plenty of light without undermining the stiffness of the walls, and also gives the shed its modern, clean look.
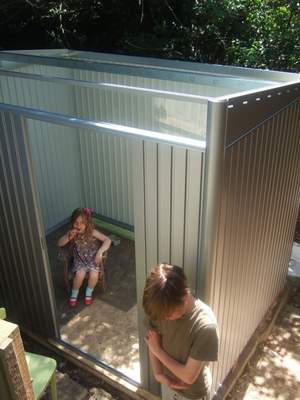
7)The roof went on easily and, once I had got the right bits overlapping the right bits, became fully watertight. It has an internal gutter at the rear which drains through a plug onto which you can attach a garden hose as a downpipe to collect rainwater. I've put my shed under a fir tree, which causes the guttering to fill up with needles - not a good idea. When it rains heavily, the water overflows down the walls of the shed and creeps under the floor, causing unwelcome damp inside. I'd be grateful for any tips on how to put a barrier beneath the walls and floor to cure this.
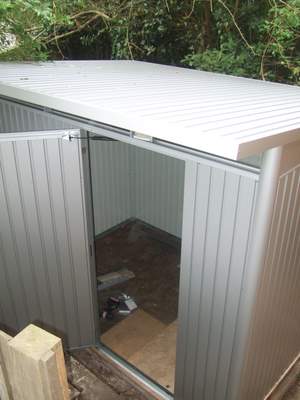
8) The door mechanism is as good as you'll find and gives the shed a
sense of good engineering and permanence.
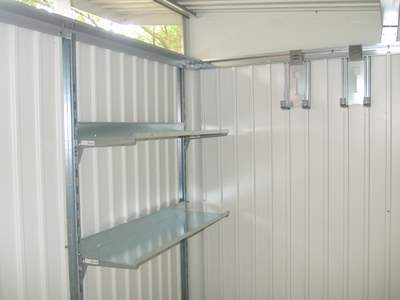
9) The walls have slotted uprights and you can buy a shelving system to
store items. Good for space efficiency and keeps the modern look inside.
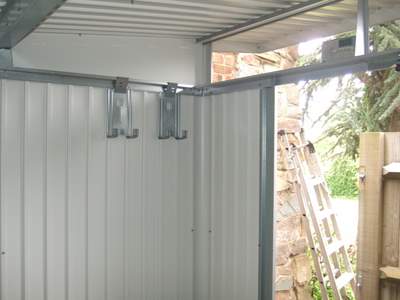
10)You can also buy tool hangers that fit on the 'picture rail' at the
top of the walls. Ideal for spades and garden tools.
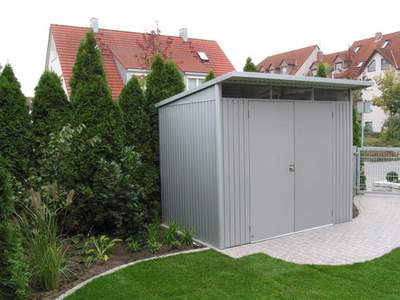
11) This is a press shot of the finished shed (I cannot get a clean shot of
mine because of the proximity of the house and surrounding bushes). The shed pictured has a double
door, which is available at extra cost, but our single door version is easily adequate for most purposes.
It looks terrific and I never tire of giving tours to my family and neighbours.
Note from Potter Shed:
Thanks for a great Biohort shed review Patrick!

Keep in touch with our monthly newsletter
Shed Building Monthly


