Building a 6x4 Shed - Very few trees were used to make this shed
A 6x4 shed is one of the smaller garden sheds that you can actually step inside. It is big enough for some garden tools or to store a couple of bikes.
Generally I'm not a big fan of pre-made, shop-bought sheds. But a friend had got this half-price 'bargain' that he needed a hand to put together. Would I help?
Of course! Always keen to overcome my prejudices I turned up, interested to see how this small building worked and the quality of the materials.
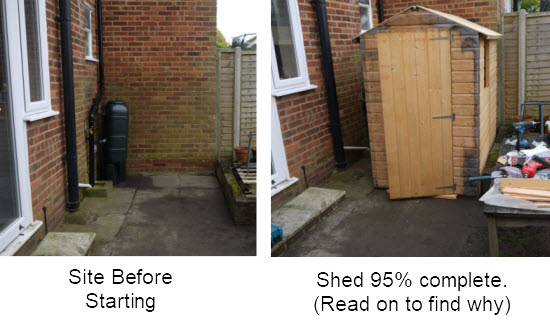
The reason for the bargain price of this 6x4 shed was that it had been stored outside, disassembled for a period untreated. The outside of the shed had weathered a bit unevenly. Also there was some water damage to the base and a couple of the roof members were bowed. Nothing too major that couldn't be overcome.Let's see how the job progressed....
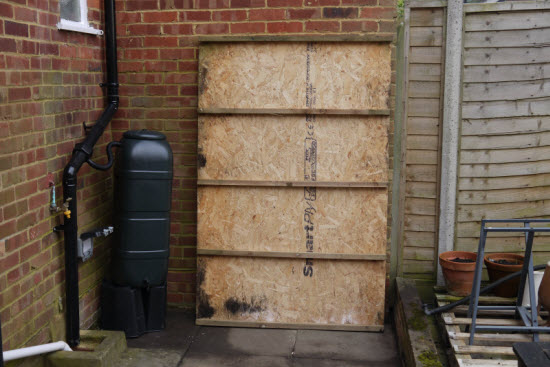
As always the place to start with shed building is the base and floor.
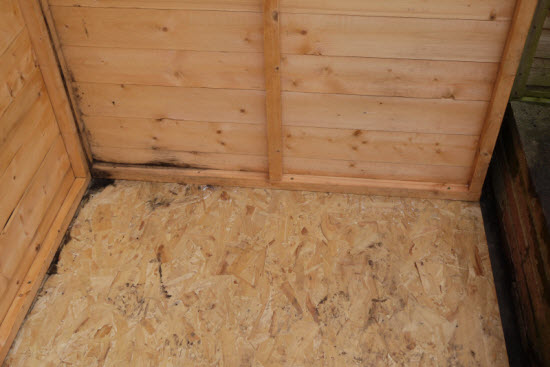
The shed was to be supported on a level patio. The floor panel was supplied as one piece and had treated timbers at 450mm centres with a 9mm thick OSB3 floor deck. The spacing of these timbers and the thinness of the deck were a concern to me. I could really feel the floor flex beneath my feet. Also the edge of the floor didn't have any trimmer on it. I think to prolong the life of this shed that using a couple of timber 3x3 treated bearers to lift it off the ground and allow a bit more air circulation to give the floor a chance to dry out.
 View of underside of 6x4 shed floor panel. Showing spacing of beams and location of water damage.
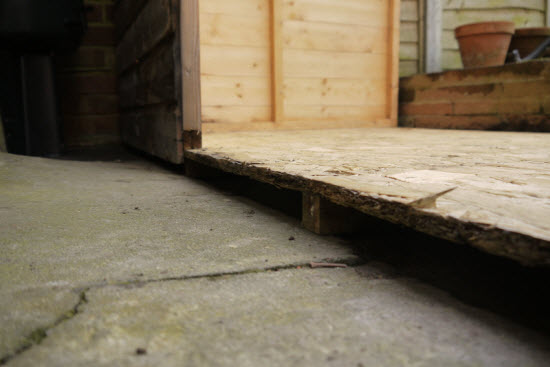 Close up of shed floor. No edge trimmer and floor very close to ground. This shed needs lifting up a bit!
With the floor in place the side panels could be installed.
The wall panels were supplied ready made and consisted of 30x30 bits of wood (I can't call them timber!) and 9mm thick tongue and groove boards. The first panel was the gable end which was fixed to the floor through the base spar using the 70mm screws supplied. The base timbers ran in the same direction as the base spar so three fixings could be made here.
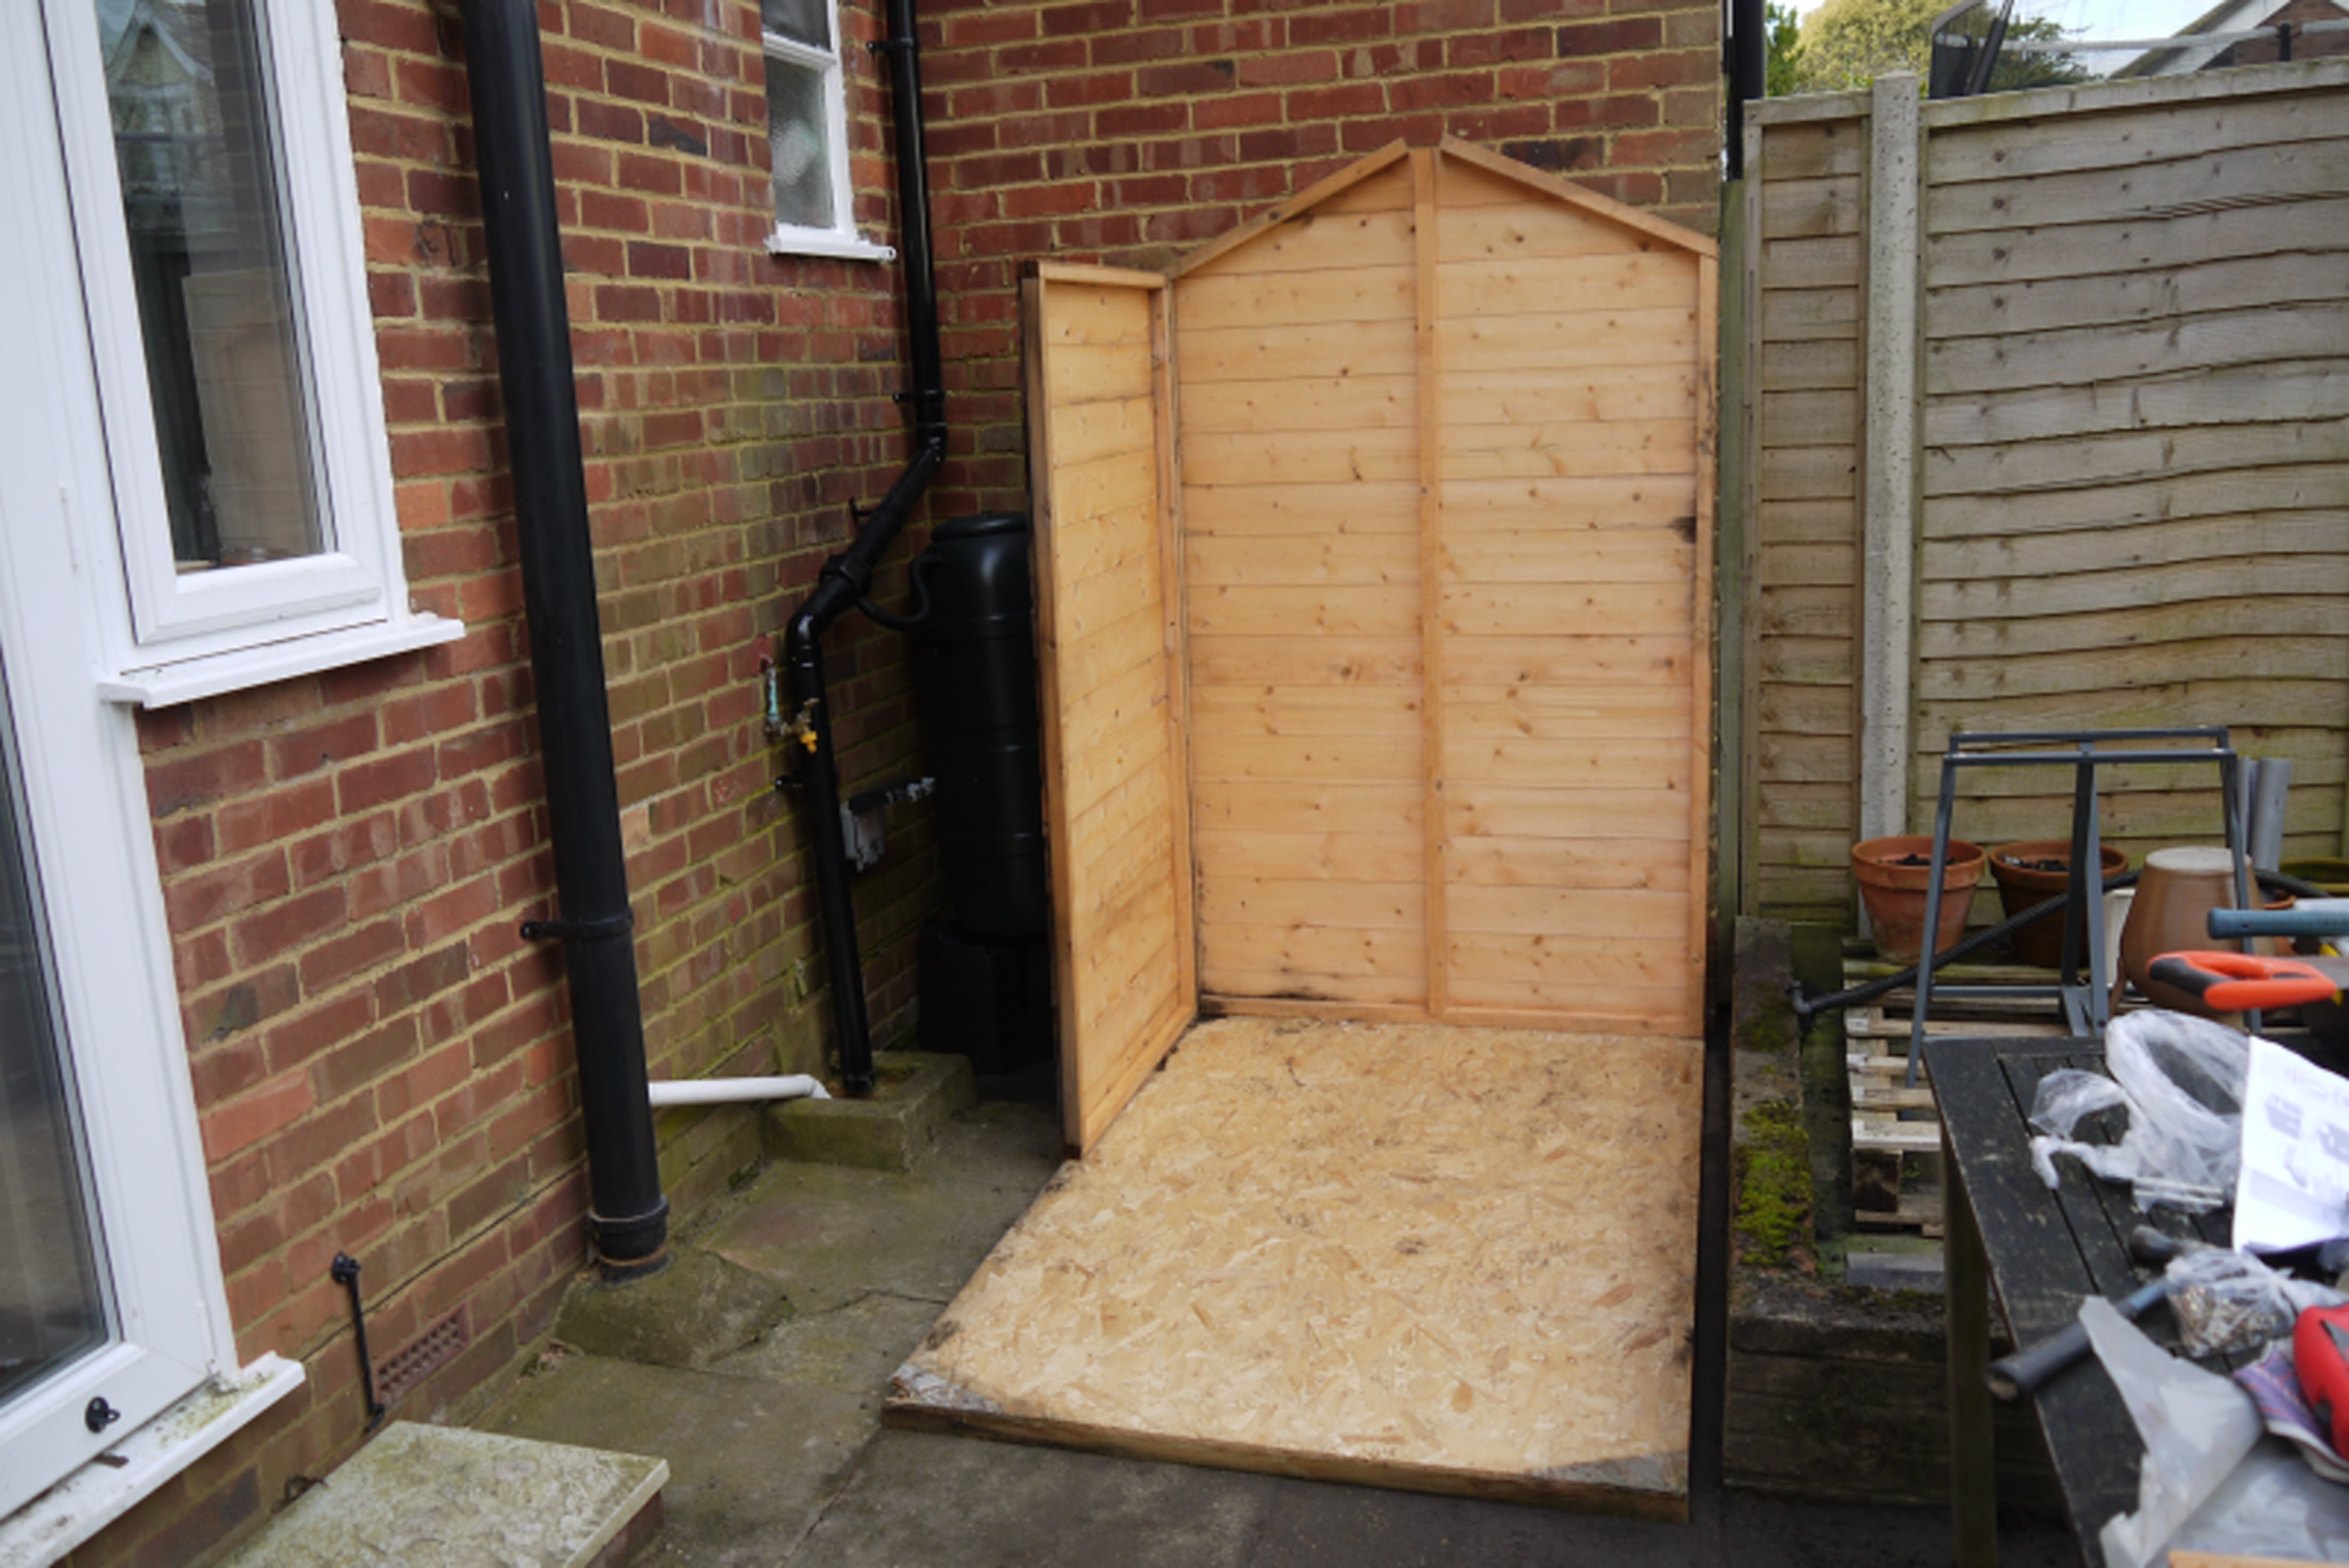 End gable and first side panel in position.
The next panel was an adjacent wall at right angles to the end gable. This gave a little bit of stability to the emerging shed.
This side panel was fixed to the adjoining wall panel with 3No. 70mm screws. Fixing to the base was a bit more problematic.
As the base panel didn't have an edge timber on the long edge. Only one fixing could be made into the joist in the middle of the panel.
Fixing to the floor in the middle was tricky as the two panel edge timbers meant that the screws had to be driven in at an angle to make sure that they hit the floor joist below.
 Close-up of base showing location of fixings.
The edge panelling lapped over the edge of the floor panelling. This gave some protection from damp to the edge of the OSB floor panel. However it did reinforce my opinion that I should lift the shed off the ground a bit further to protect the base and the siding from rain splashes.
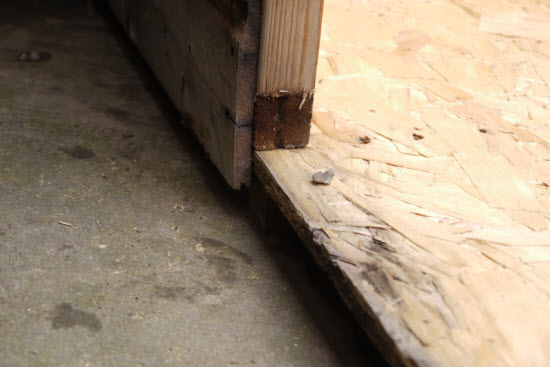 Close-up showing edge panel lapping over floor panel.
The rest of the panels were added in a similar way to the first.
Using three screws to fix adjoining panels and three screws to the base.
 Gable and two wall panels in position
 Gable and four wall panels in position
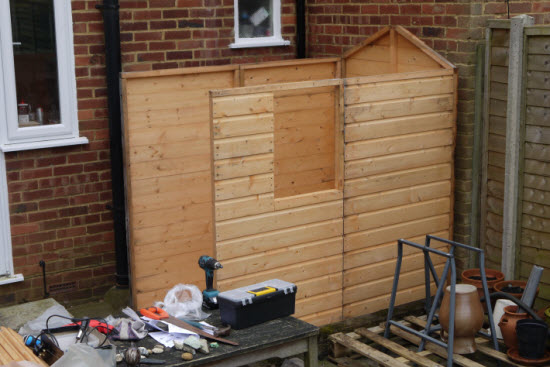
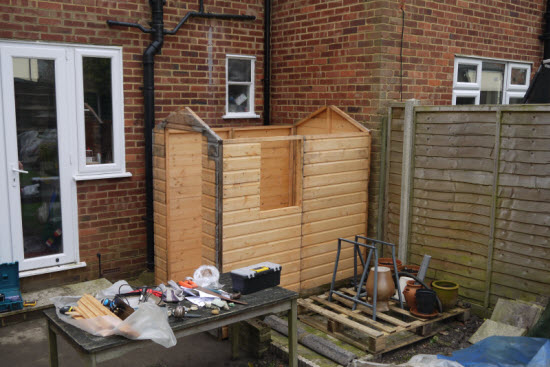 All four walls in place. Ready to install roof
At this point the 6x4 shed was taking shape and it was time to put the roof on.
Here the materials supplied and the instructions were very poor. There were supposed to be two members 1852mm long and two 1828mm long. In fact there were 3 members 1852 long and 1 1828 long.
Better too long than too short! So, quickly sawed the end off one of the 1852 long ones.
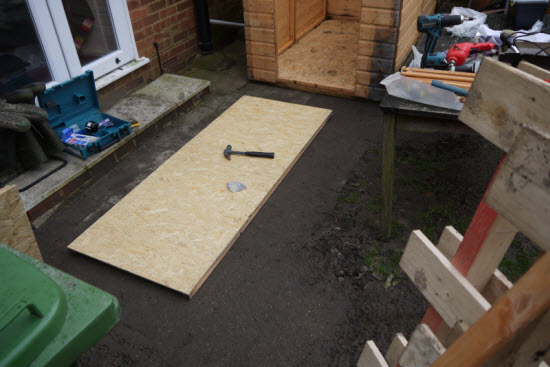 One of the two roof panels
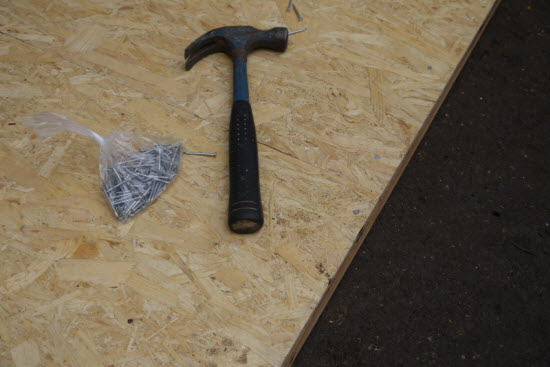 Roof panel and nails
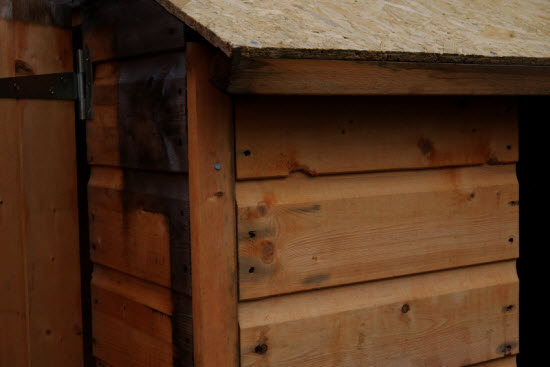
 View of 6x4 shed with roof panels in position.
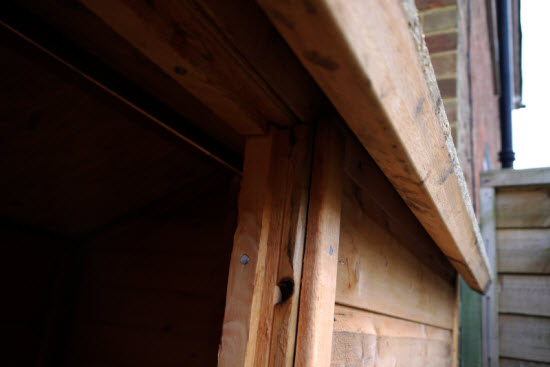
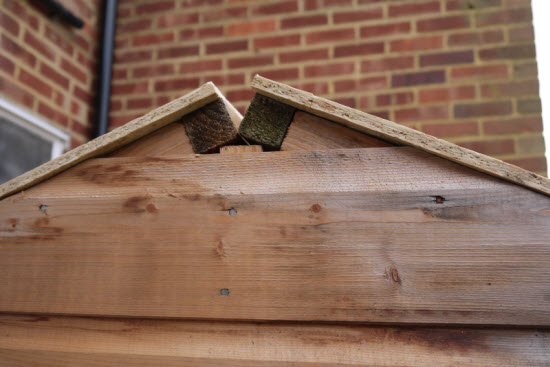 Close up of ridge. Surely the OSB should cantilever to meet in the middle? According to the instruction...No!
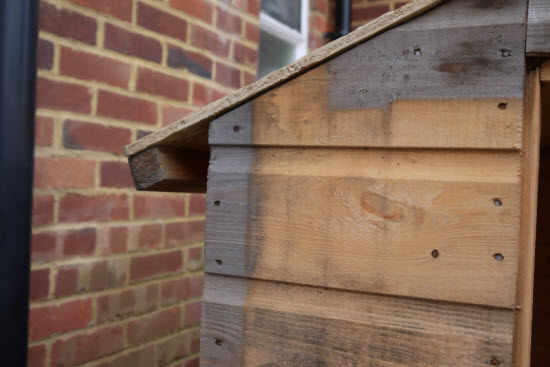 Detail of eaves
Then, the instructions showed the members nailed to the edge of the panels using 4 No. round head nails. This was done but then when the roof panels were in place this left a gap in the middle of the roof. This will either need to be infilled or take the roof apart and re-fix the spars with a 25mm overhang so that the edges of the panel meet. Grrrr… this put the roof on hold until a solution was decided on.
In the meantime work could start on the door
The door was a lightweight battened door, with no braces. Fitting the door was straightforward. Insert the door in the panel hole and pack up off the ground so that it is at the right height. Then screw into place the surface mounted Strap hinges. These hinges were light weight and zinc passivated (not galvanised) so they will need a good coat of paint to stop them rusting.
 6x4 shed with door in place
 Packing beneath the door to temporarily support it while fixings are driven in
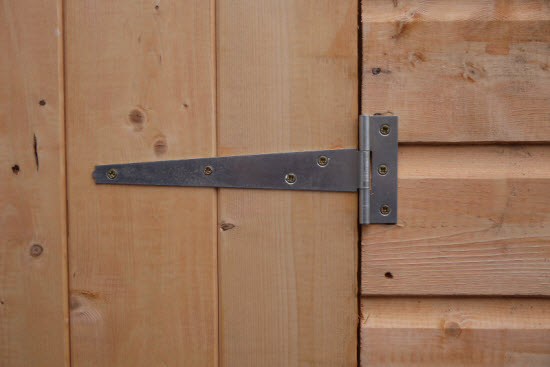 close up of one of the three hinges. The Hinges were zinc passivated, not galvanised. This will mean that they are
prone to rust. Note also the standard exposed PZ2 screw heads so the door can be removed from the outside (security problem)
close up of one of the three hinges. The Hinges were zinc passivated, not galvanised. This will mean that they are
prone to rust. Note also the standard exposed PZ2 screw heads so the door can be removed from the outside (security problem)
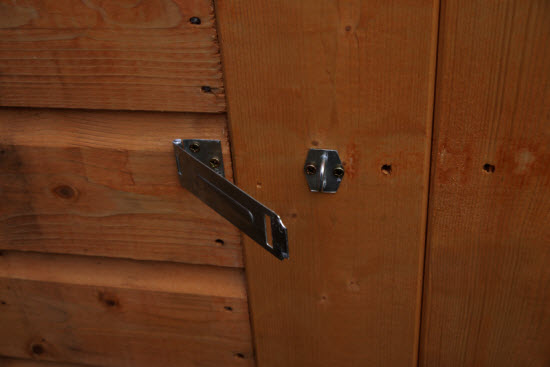 Cheap hasp and staple. Very thin metal
The door is secured with a hasp and staple. So lightweight that I think that the store must have got it from a Christmas cracker. It would keep the door shut, but probably not in a strong wind.
Next was the window
The window was a fixed window. First of all was the 'window sill'. The purpose of a window sill is to shed water from the window out of the building. This one was made from a section of the tongue and groove cladding. It was not clear which way up this was to be fixed as whichever way it was installed it seemed to encourage water into the building.
The glazing beads were of poor quality with knots in them and one of them was so brittle that it split when I nailed into it. Normally a thinner gauge nail is used to avoid this problem or the holes are recommended to be pre-drilled but nothing.
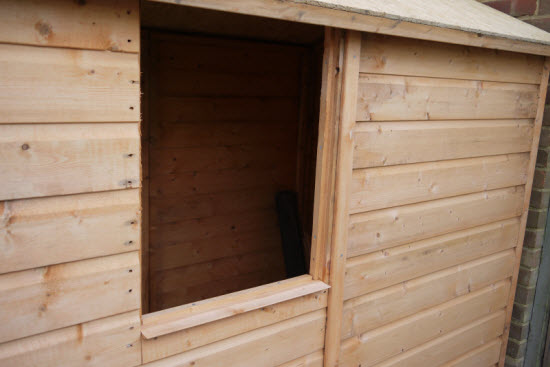 View of window
 View of glazing beads. As you can see shocking quality.... Knots included
 Timber split when supplied nails driven into it
 View of window with inner glazing bead fixed
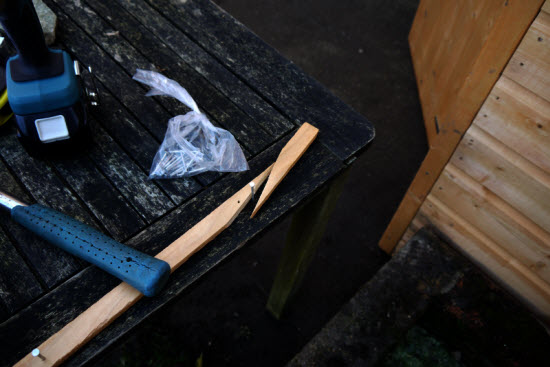
Then a little bit of the edge trim
The normal purpose of edge trim is to cover joints in the panels to stop driving rain getting in to the shed. This was how the central panel trim worked. However it was so narrow that it was difficult to drive a nail through the strip and into the framework without splitting the trim (I managed it....just!).
The corner trims however were mainly for appearance as they didn't cover a joint.
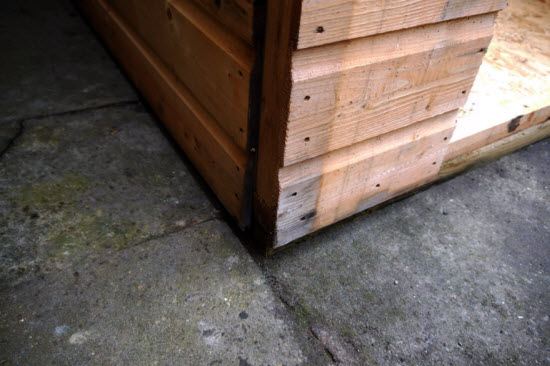 View of corner without trim
 view of corner with trim fixed
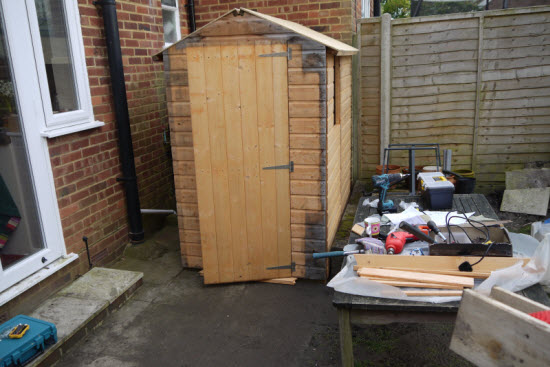
Finally the 6x4 shed was finished (almost!)
All bar the roofing felt and trim which will have to wait for another day. At this time of year, January the temperature is low about 4 degrees C which means that it is difficult to unroll the bitumen roof felt without cracking it. In my view the temperature needs to be above 12 degrees and for there to be a bit of sunshine for the felt to'relax' and flatten out on the roof. We will probably go with a rubber roof for this project - more durable and it can be fixed as long as the temperature is above 4 degrees C long enough for the adhesive to take hold.
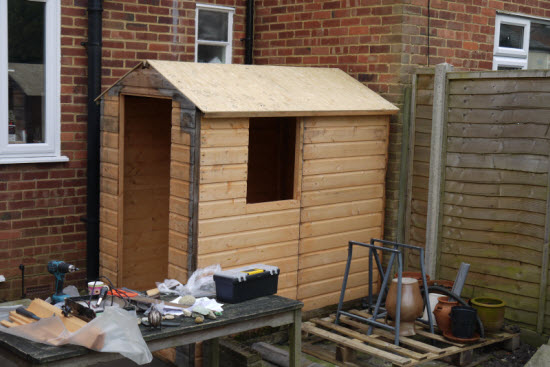
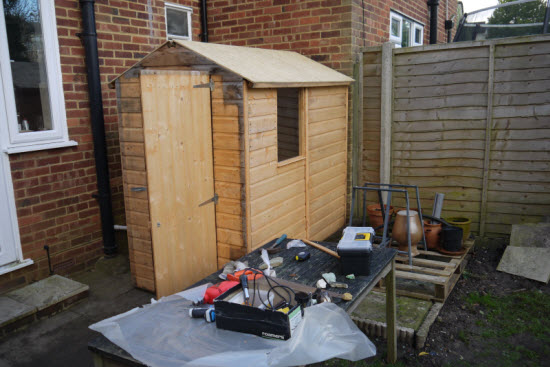 View of completed shed, without shed roof felt or trim
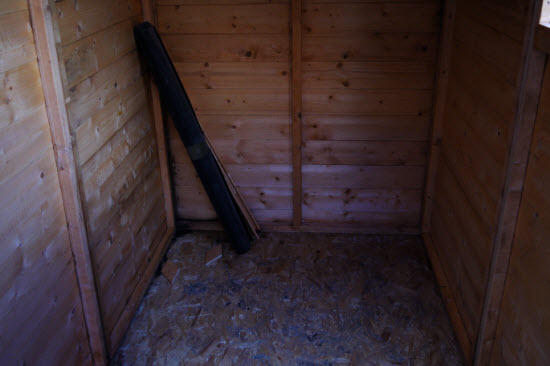 Roll of shed felt and roof trim are to be kept until warmer weather arrives.
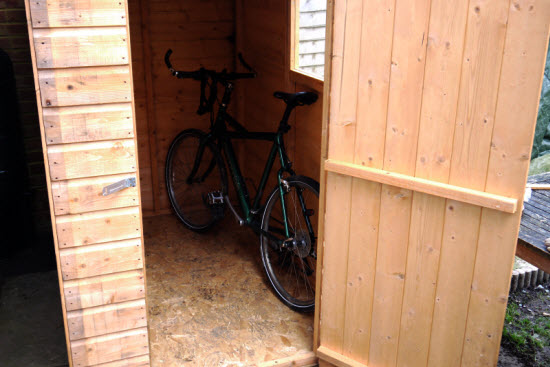 This 6x4 shed is just the right size to store a bike
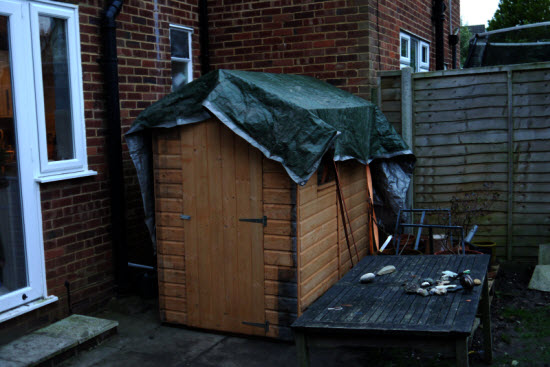 Shed with temporary tarpaulin over the roof to keep the rain out.
The final finishing of the 6x4 shed
Installing a lovely EPDM rubber roof and a coat of exterior wood stain is still to come. I will update this post when we have got that far!
I reckon that they will transform this 'Ugly Duckling' into a Beautiful Swan!
To make sure that you don't miss this make sure that you sign up for this sites' FREE Newsletter - Shed Building Monthly.


Keep in touch with our monthly newsletter
Shed Building Monthly